


Optimized EPS Mold Replacement Procedure
Mold replacement is a crucial step in EPS foam production, requiring careful planning and execution to ensure efficiency and safety. Below is a structured guide outlining the key steps involved in disassembling and assembling EPS molds.
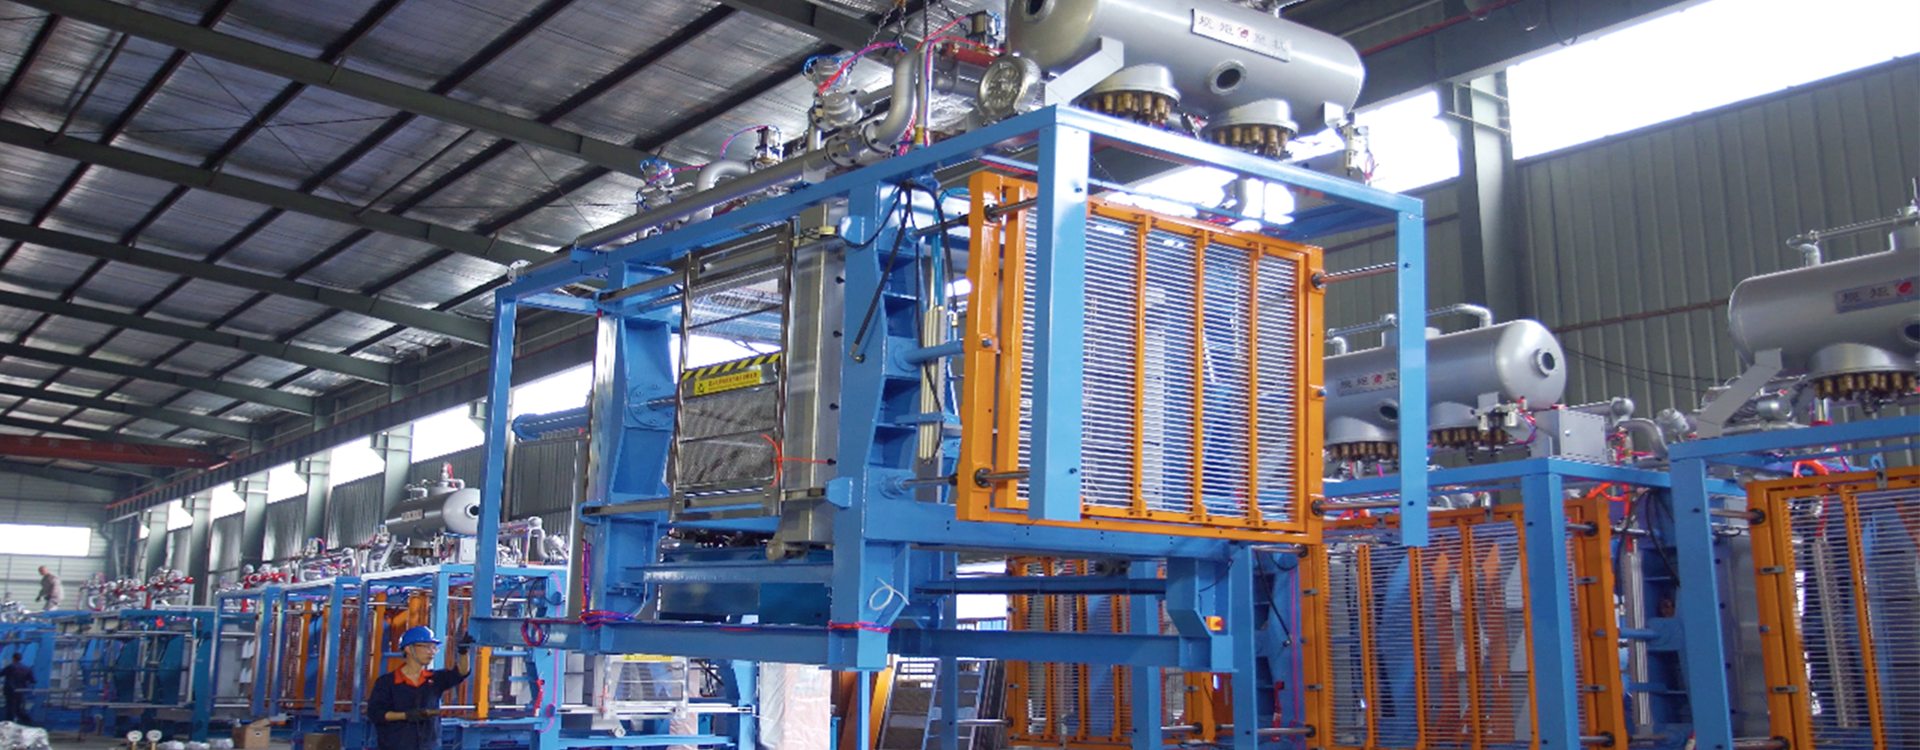
-1741142240260.jpg)
-1741142253473.jpg)
Mold Disassembly Process
Preparation and Inspection
1. Verify Production Records: Check the mold logbook for complete documentation of previous use and maintenance.
2. Inspect Equipment: Ensure hoists, cranes, and lifting devices are in optimal condition and operated by authorized personnel.
3. Check Material Flow: Confirm that residual EPS material in pipes is cleared to prevent clogging or contamination during removal.
Disassembly Steps
1. Component Removal:
- Detach ejector pins and EPS filling guns carefully.
- For molds with air chambers over 200, remove the filling gun simultaneously.
- Store special ejectors separately and label them for easy identification.
2. Mold Securing and Lifting:
- Lock the mold securely before lifting.
- Use chain hoists to elevate the mold.
- Remove clamps and pressure plates.
3. Disconnect Utility Lines:
- Shut off main valves (steam, water, air) before detaching pipelines.
- Ensure complete depressurization to prevent leaks and hazards.
4. Cleaning and Maintenance:
- Inspect mold surfaces for damage or wear.
- Clean all components thoroughly and replace defective parts.
- Store molds properly on pallets for safe transport to the mold preparation area.
- Organize tools and accessories systematically to maintain an orderly workspace.
Mold Assembly Process
Pre-Installation Checks
1. Mold Integrity: Ensure the mold is undamaged and that previous maintenance records are reviewed.
2. Seal and Cooling Inspection: Check for air leaks, damaged seals, and proper water flow through cooling pipes.
3. Component Readiness: Confirm all ejectors, filling guns, and pipelines are prepared for reassembly.
Assembly Steps
1. Positioning the Mold:
- Adjust the machine support plate to fit the mold specifications.
- Carefully align the mold using lifting equipment.
- Securely close the mold and perform a position reset.
2. Component Installation:
- Attach ejectors and EPS filling guns, ensuring proper alignment.
- The EPS filling gun and ejector should protrude ≤0.5 mm from the mold core to prevent leaks.
3. Pipeline Connection:
- Use appropriate tools to secure steam, water, and air connections.
- Conduct a pressure test to verify pipeline integrity.
4. Final Testing and Adjustment:
- Conduct a trial operation to check for proper mold function.
- Make necessary adjustments to ensure optimal performance before resuming production.
Best Practices and Considerations
- Safety Compliance: Always prioritize personnel safety by following proper lifting and handling protocols.
- Standardized Procedures: Maintain consistency in mold handling to prevent damage and misalignment.
- Regular Documentation: Keep detailed records of each mold change to track performance and maintenance history.
By implementing these systematic steps, EPS mold replacement can be completed efficiently, reducing downtime and enhancing production stability.
-
Repair and maintenance of EPS equipment: best practices for extending the service life of the machine

2025-02-21
-
Participating in the Bangladesh Exhibition: New Trends and Market Demand in the EPS Machine Industry
2025-02-21
-
Despite Challenges, Shipments Successfully Dispatched Ahead of the Chinese New Year
2025-01-24
-
Inside Longwell Mould Factory: Precision and Innovation in Every Step
2025-01-23